

The 5-Minute Shower Routine That’s Better for Your Hair
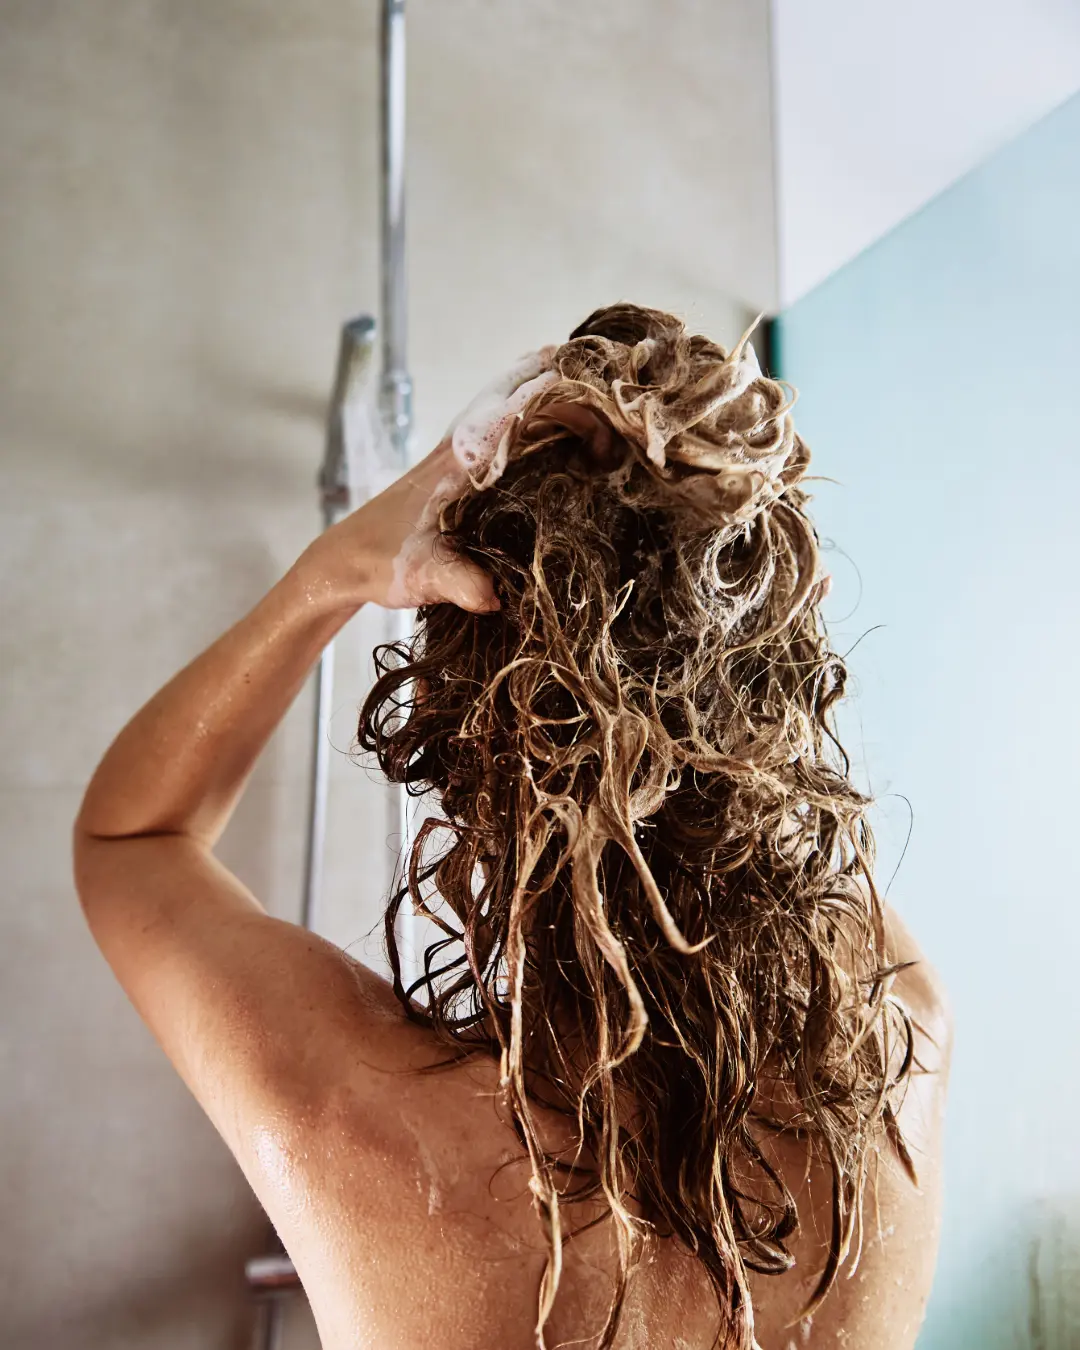
Step 1: Wet Your Hair Thoroughly (30 Seconds)
This step gets rushed more than any other. Saturate your hair completely — not damp, fully wet, root to tip. More water in the hair shaft means better lather and more even cleansing.
Water temperature matters too. Warm to hot water opens the cuticle and lets the bar cleanse more effectively. Save the cool water for the rinse.
Step 2: Activate the Bar (15 Seconds)
Two methods work equally well. Choose based on your hair length and preference.
- Lather in your palms first — rub the bar between wet hands until you build a good lather, then apply to the scalp and hair. Works best for fine or shorter hair.
- Apply directly to wet hair — use short strokes from the scalp down, then work the lather in with your fingertips. Works best for thick, long, or coarse hair.
Olive and coconut oil produce a genuine lather — not the high-volume foam of synthetic surfactants, but a real, effective one. If the lather feels thin, wet your hair for another 15 seconds before trying again.
Step 3: Focus on the Scalp (60 Seconds)
Start with the scalp. Follicles live there. Sebum production happens there. The scalp sets the conditions for healthy hair growth — the hair shaft cleans itself as you rinse.
Use your fingertips — not nails — and massage the lather in small circular motions. Work from the hairline back. Spend extra time on areas where buildup tends to sit. Essential oils like rosemary and peppermint stimulate circulation as you massage — a useful bonus.
Mid-lengths and ends need less attention. The lather running down from the scalp handles most of it. For dry or damaged ends, smooth a small amount of lather through directly. Always treat the scalp as the priority.
Step 4: Rinse Longer Than You Think (90 Seconds)
Most people underdo this step. A thorough rinse makes the biggest difference in how a shampoo bar performs — especially in the first weeks of switching from liquid shampoo.
Switch to cool or lukewarm water — cooler than your wash temperature. Cooler water closes the cuticle, produces natural shine, and cuts frizz. Work your fingers through your hair as you rinse. Make sure the water reaches your scalp, not just the surface.
How do you know you’re done? Your hair feels slightly squeaky — clean, with nothing left behind. Still slippery or heavy? Keep rinsing.
Step 5: Store the Bar Properly (10 Seconds)
Do this after the shower. It shapes every shower that follows. A bar sitting in standing water dissolves faster, loses its shape, and performs worse. A bar that drains and dries completely lasts far longer — up to the equivalent of two to three bottles of liquid shampoo.
Use a draining soap dish, a slatted wooden rack, or a magnetic holder. Airflow matters. No pooling water. This one habit keeps a bar lasting months instead of weeks.
The Optional Step: Do You Need Conditioner?
Many people who switch to a J.R.LIGGETT’S® bar stop reaching for conditioner. After a few weeks, the scalp normalizes its oil production. The cuticle stops lifting as aggressively. Conditioner becomes optional.
Hair type determines the answer. Fine and normal hair usually skips it. Dry, color-treated, or very long hair often benefits from the Conditioner Bar on mid-lengths and ends. Curly and coily hair tends to need consistent conditioning more than others.
The easiest test: go without for two to three weeks after the transition period. See what your hair tells you. Most people don’t miss it.
What Makes This Routine Different
None of these steps are complicated. Most take a few extra seconds. The difference isn’t time — it’s intention.
A bar built on saponified olive, coconut, and castor oil needs the right conditions to perform: fully wet hair, a focused scalp massage, a thorough rinse, and somewhere dry to rest between uses. Give it those, and it does the rest.
Five minutes. Same shower. Better hair.